

Deploy and connect
- Open Dedicated Clusters and select the team that owns your cluster.
- As a team admin on a cluster with self-service enabled, choose Deploy > Slurm cluster. Select the dedicated hardware, enter a cluster name, and set Worker nodes, GPUs per node, and Shared /home size. Turn on Enable container jobs (Pyxis/Enroot) if you plan to run container jobs.
- Add at least one user with an SSH public key. If your team uses Tailscale, choose a saved credential to join the login node to your tailnet.
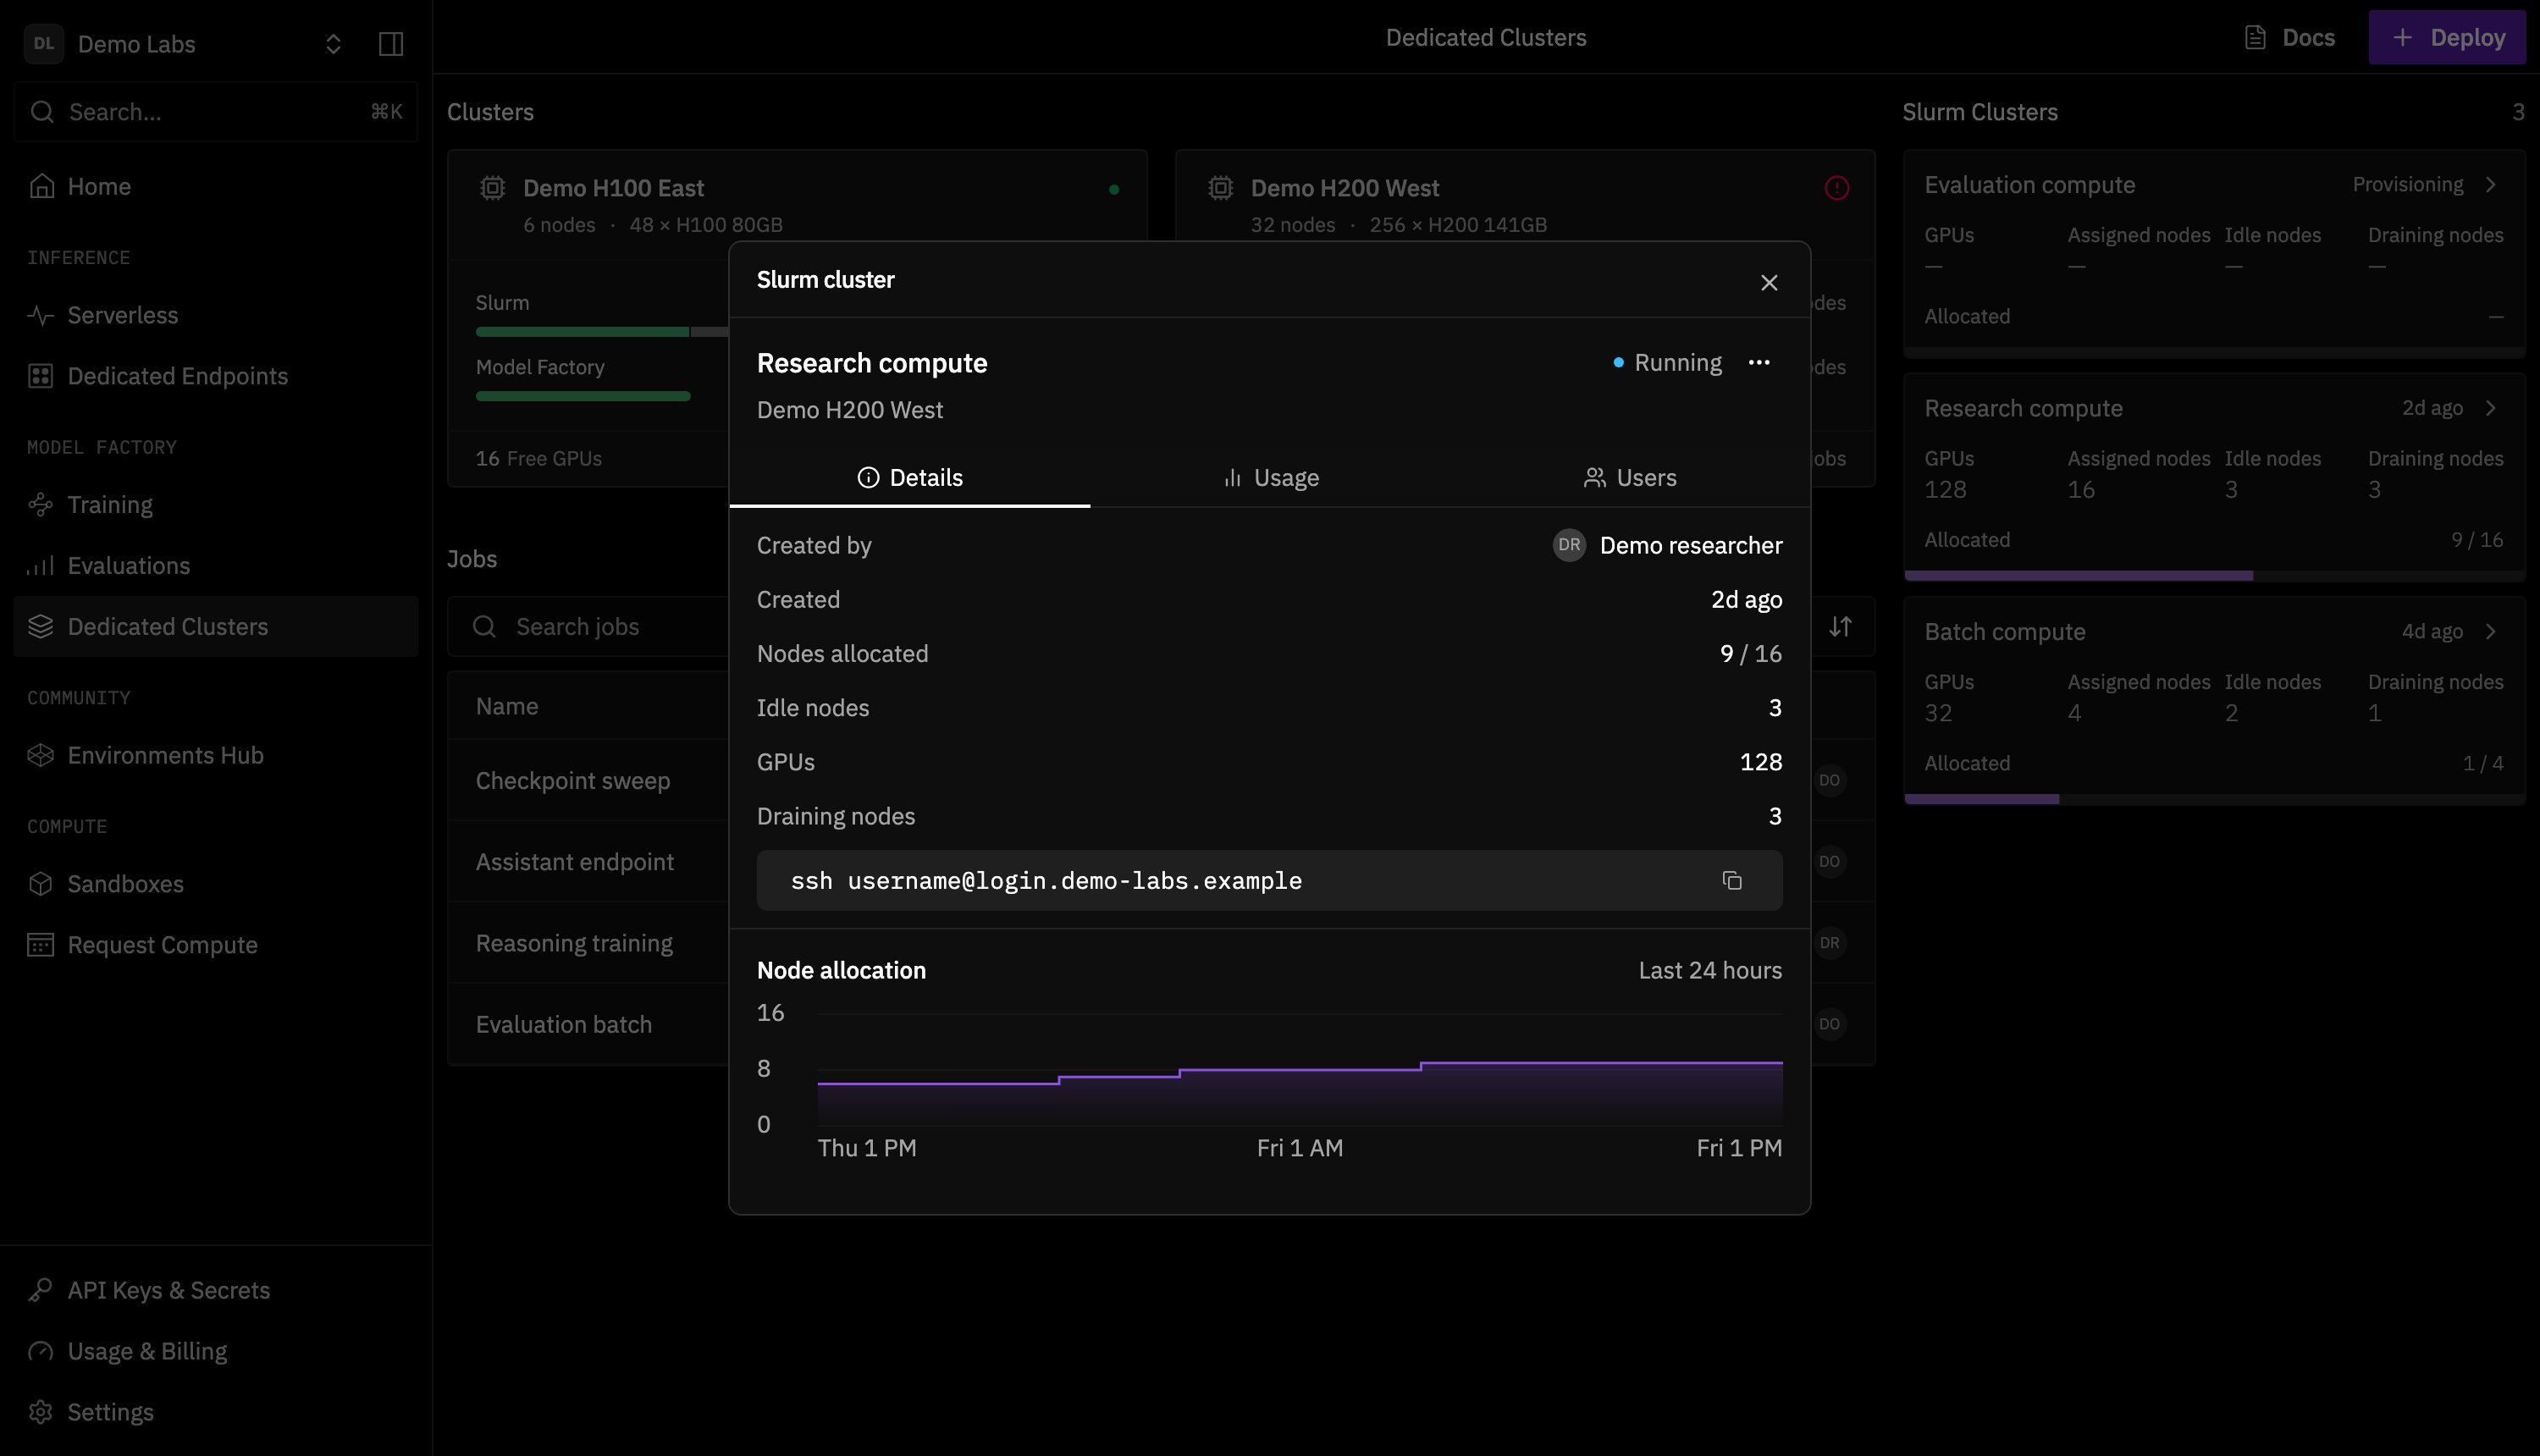
- Under Slurm Clusters, select the deployment card when it reaches Running. Copy the SSH command from Details and replace
usernamewith your Slurm username. If you chose a saved Tailscale credential, the tailnet SSH command appears once the login node joins.
Manage Slurm with the Prime CLI
Use Prime CLI 0.21.0 or later and select your team withprime switch. List your team’s deployments.
CLI
CLI
get shows deployment details and SSH information when a login address is configured. Team admins can add or remove members with prime factory slurm add-member and prime factory slurm remove-member. To resize the deployment and wait for the reported worker capacity to update:
CLI
Essential Slurm Commands
Run these commands from the Slurm login node to manage your jobs and inspect the fleet:View Cluster Information
GPU Resource Allocation
Prime Intellect clusters use the Generic Resource (GRES) system for GPU allocation. Understanding the correct syntax is crucial for successful job submission.Interactive GPU Sessions
These examples use
--gres=gpu:N to request GPUs per node. Use one GPU request option per job. See the Slurm sbatch reference for supported options.Batch Job Submission
Batch jobs allow you to queue work that runs without manual intervention. Create a script file (e.g.,job.sh) with SBATCH directives:
Basic GPU Job Script
Submit and Manage Jobs
Job Output Location
Example: Quick Cluster Test
Verify your Slurm cluster with these simple tests:Troubleshooting Common Issues
InvalidAccount Error
If you encounterInvalidAccount errors when submitting batch jobs:
- Check the account: If your script sets
#SBATCH --account=, check that your user can submit jobs under that account in the selected partition. - Check partition availability: Ensure the partition you’re requesting exists with
sinfo.
Job Output Not Found
If you can’t find your job output files:- Check working directory: Output files are created where
sbatchwas run - Use absolute paths: Specify full paths in
--outputand--errordirectives - Check other nodes: If submitted from a compute node, outputs may be on that node’s local storage
- Always submit from shared storage: Change to the shared storage directory before running
sbatch
Node Communication Issues
If nodes can’t communicate or jobs hang:- Verify all nodes are in
idlestate withsinfo - Check node connectivity:
srun --nodelist=<node> hostname - Ensure shared storage is mounted on all nodes
- Consider restarting your cluster if issues persist
Advanced Slurm Commands
Direct Node Access
Access specific compute nodes directly for debugging or monitoring:Resource Monitoring
Job Arrays for Parameter Sweeps
Run multiple similar jobs with different parameters:Environment Variables
Useful Slurm environment variables available in jobs:Shared Storage Integration
Your Slurm cluster comes with shared storage automatically mounted on all nodes. The UI displays the mount path for your shared storage directory. This ensures:- Consistent file access across all compute nodes
- No need to manually copy data between nodes
- Simplified job submission and management
- Persistent storage for checkpoints and results
Best Practices
Use the Login Node
Submit jobs and run Slurm commands from the login node
Leverage Shared Storage
Store your code, data, and outputs in the shared storage directory shown in the UI for seamless access across nodes
Monitor Resources
Regularly check cluster utilization with
sinfo and squeue to optimize job schedulingUse Job Arrays
For parameter sweeps or similar tasks, use Slurm job arrays for efficient scheduling