This guide is for more technically proficient users who are comfortable working directly with command line tools and have some experience training or fine-tuning models.
If you want to join our private beta to gain early-access to our RFT platform, with deep integrations to our Environments Hub, and hands-on support from our research team, send us your details via this form.
Overview
Reinforcement Fine-Tuning (RFT) optimizes a language model with feedback-driven rewards from RL environments. On Prime Intellect, you can run scalable RFT jobs using our compute, ourprime-rl trainer, and access hundreds of pre-built environments from our Environments Hub, which all use verifiers.
prime-rl(GitHub) - Trainer for large-scale FSDP trainingverifiers(GitHub) - Library of modular components for building RL environments- Environments Hub - Community hub hosting hundreds of RL environments that can be used, evaluated and forked for your RL run
- Deploy compute using our RFT image with pre-installed dependencies
- Validate machine setup
- Configure RFT run by setting up RL environment(s) and config files
- Launch RFT run
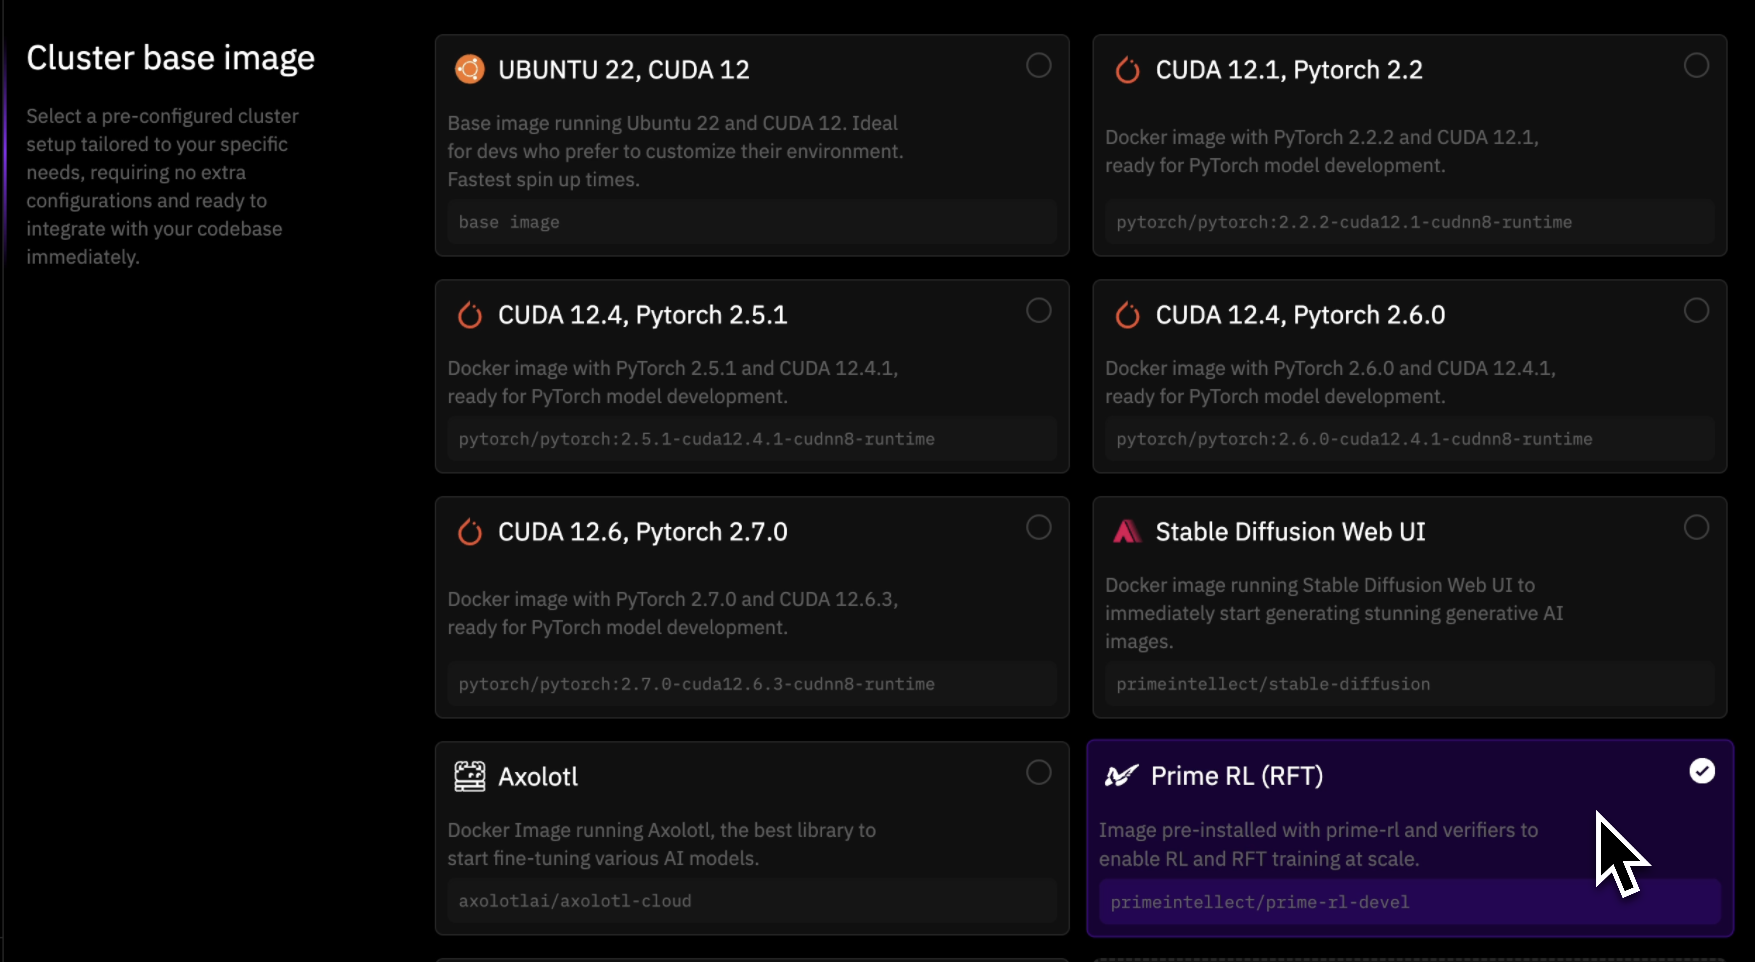
1) Deploy compute
Go to the Deploy GPU page on Prime Intellect, and select the “Prime RL (RFT)” image. This image is preloaded with CUDA, Python/UV,prime-rl, verifiers, and the Prime CLI to minimize setup.
prime-rl requires at least 2 GPUs for training.prime-rl is installed in /workspace/prime-rl:
2) Validate machine setup
- Check that environment uses Python 3.12
- Check that
flash-attnis installed
- Check that you can run SFT trainer in debug model (this requires 1 GPU)
- Check that you can run the RL trainer debug mode (this requires 1 GPU)
- Check that you can run the orchestrator against an inference server (this requires 1 GPU). Run these commands at the same time in separate terminals:
- Check that you can run a simple SFT warmup (this requires 1 GPU)
- Check that you can run a toy RL run (this requires 2 GPUs)
3) Configure RFT run
We support doing RL on environments that are built withverifiers (repo).
You can find hundreds of community-contributed environments on the Environments Hub.
Not all environments on the Hub are vetted or tested by Prime Intellect. For a set of verified, training and RL-ready environments, visit the prime-environments repository.
prime-rl, do:
pyproject.toml, do:
- Create
trainer/inference/orchestratorconfig files following the aforementioned examples - Then set
id = custom-environmentin the[environment]section of yourorchestratorconfig (along with any desired Environment-level args in[environment.args]).
Additional setup
- If you want to log your runs to W&B (
wandb), log in
- If you require gated/ private models or datasets from HuggingFace, log in
- We provide a convenient tmux layout script to start a run and view the logs for trainer, orchestrator, and inference. To start the session simply run
4) Launch RFT Run
Theprime-rl stack has three cooperating components: inference, orchestrator, and trainer. For convenience, you can launch all via a single entrypoint.
Once you have your config files set up, you can launch the run with:
prime-rl README (GitHub), including:
- Multi-Node training
- Detailed W&B logging
- Detailed checkpointing
- Benchmarking
Checkpointing and Resuming
Enable periodic checkpoints:prime-rl README for details on checkpoint layout and async semantics (GitHub).
References
prime-rl: Trainer for large-scale FSDP training — GitHubverifiers: Library of modular components for building RL environments — GitHub- Environments Hub: Community hub hosting hundreds of RL environments that can be used, evaluated and forked for your RL run